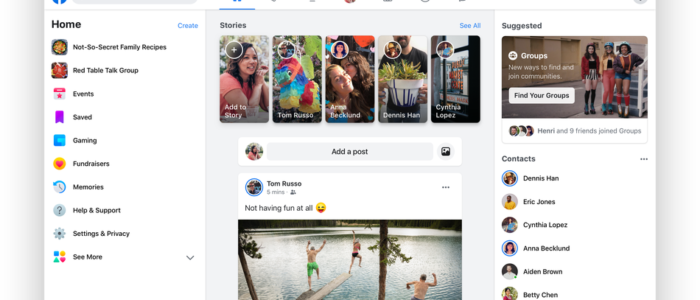
Facebook recently announced an upcoming redesign of its main interface. The change comes amidst the company taking increased criticism for poor privacy practices. The new change will be placing events and groups at the center of the application.
Said Facebook in a blog post, “There are tens of millions of active groups on Facebook. When people find the right one, it often becomes the most meaningful part of how they use Facebook. And today, more than 400 million people on Facebook belong to a group that they find meaningful.” The goal, they say, is to make it simpler to discover and join groups on the site.
The redesign will be rolling out immediately on iOS and Android devices, with a desktop version to follow in the next couple months. For the last couple years, Facebook has invested heavily in two open source tools for web applications: React and GraphQL. Much of the developer discussion surrounding these two technologies has centered around their use for web applications accessible on the desktop but ironically Facebook has mainly used them for mobile. The new update will put React and GraphQL front and center on the desktop.
Additionally, a new feature called Meet New Friends is coming. This feature will allow people to connect with strangers that have shared interests and connections such as hobbies, employers, and schools.
CEO Mark Zuckerburg claimed in March to want to redefine key aspects of Facebook’s platform and identity. Following much of the controversy surrounding the News Feed, which has been an unchecked publishing platform for users and a key source of advertising revenue, Facebook may be trying to shift away from having News Feed serve in this central role.


